Limescale buildup in the toilet is a common household problem, especially in areas with hard water. It forms over time as minerals like calcium and magnesium settle and harden on surfaces, creating unsightly and stubborn stains. These chalky deposits often appear under the toilet rim, in the bowl, or around the water line. If left untreated, limescale can discolor the porcelain, trap bacteria, and even interfere with the toilet’s flushing system. Cleaning limescale from the toilet doesn’t have to involve harsh chemicals. With the right methods and regular maintenance, you can restore the shine and keep your bathroom hygienic and fresh.
Understanding Limescale in Toilets
Limescale forms when hard water evaporates and leaves behind mineral deposits. Over time, these deposits react with cleaning products, organic waste, and even toilet paper, forming a crusty layer that becomes harder to remove. The longer limescale is allowed to sit, the more difficult it is to clean. It can appear as white, gray, brown, or even greenish stains, depending on the mineral content and water conditions.
Common Signs of Limescale in Toilets
- Chalky white rings or stains around the waterline
- Discoloration or streaks in the bowl
- Water flow issues or weak flushing performance
- Rough or gritty textures on porcelain surfaces
Basic Tools and Materials Needed
Before you start cleaning limescale from your toilet, gather the necessary tools and materials. You don’t need anything expensive or industrial-grade; most of the items are common household supplies.
- Rubber gloves
- Toilet brush or scrubbing pad
- White vinegar
- Baking soda
- Lemon juice (optional)
- Pumice stone (for tough stains)
- Spray bottle
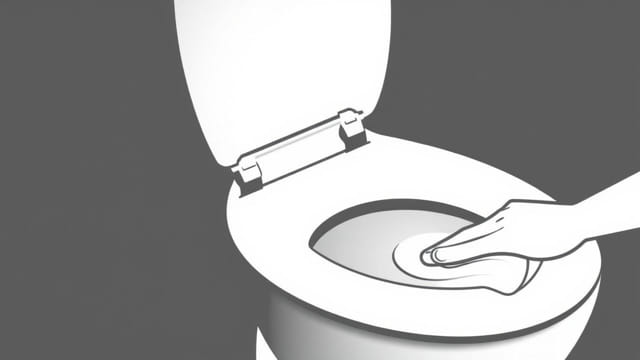
Step-by-Step Methods for Removing Limescale
Method 1: White Vinegar and Baking Soda
This is a safe, natural, and highly effective method. Vinegar helps dissolve mineral deposits, while baking soda acts as a gentle abrasive and deodorizer.
- Pour about 2 cups of white vinegar into the toilet bowl, making sure to coat the limescale-affected areas.
- Let it sit for 10 to 15 minutes to begin breaking down the deposits.
- Add 1/2 cup of baking soda directly into the bowl, followed by another 1 to 2 cups of vinegar.
- The mixture will fizz this reaction helps lift stains.
- Allow the solution to sit for at least 30 minutes, or even overnight for severe buildup.
- Scrub the bowl with a toilet brush, focusing on stained areas.
- Flush the toilet to rinse away residue.
Method 2: Lemon Juice and Vinegar
Lemon juice is naturally acidic and can enhance the effectiveness of vinegar while leaving behind a fresh scent.
- Mix equal parts of lemon juice and vinegar in a spray bottle.
- Spray the solution directly on limescale deposits, especially under the rim and around the waterline.
- Let it soak for 30 to 60 minutes.
- Use a toilet brush or scrubbing pad to remove loosened deposits.
- Flush thoroughly to rinse the bowl clean.
Method 3: Pumice Stone Scrubbing
For stubborn stains that don’t respond to natural cleaners, a pumice stone can be used carefully to scrape away buildup without damaging porcelain.
- Wet the pumice stone and toilet bowl surface to avoid scratches.
- Gently rub the stone against the limescale, applying even pressure.
- Focus on tough areas, such as the rim or base of the bowl.
- Rinse the bowl and stone frequently to monitor progress.
- Flush the toilet after removing the buildup.
Method 4: Commercial Limescale Removers
If you prefer ready-made solutions, there are commercial toilet limescale removers available. Look for products labeled safe for porcelain and suitable for hard water stains. Always follow manufacturer instructions and wear gloves.
- Apply the product as directed, usually under the rim or directly on stains
- Allow it to sit for the recommended time
- Scrub with a toilet brush
- Flush thoroughly after cleaning
Prevention and Maintenance Tips
Once you’ve removed limescale, it’s important to prevent future buildup with regular maintenance. Preventive steps can save you time and effort in the long run and help keep your toilet looking spotless.
Tips to Prevent Limescale Buildup
- Clean the toilet weekly with vinegar or a mild toilet cleaner
- Pour a cup of vinegar into the bowl once a week to dissolve early deposits
- Install a water softener if you live in a hard water area
- Use limescale-preventing toilet tablets that are safe for septic systems
- Dry the toilet rim and bowl edges if you notice dripping or water stains
Signs It’s Time for a Deep Clean
Even with regular cleaning, you may occasionally need a deep limescale removal session if you notice:
- Rough texture returning after brushing
- Discoloration that doesn’t respond to mild cleaners
- Foul odors coming from the bowl or rim
- Reduced water flow from the rim jets
When these signs appear, it’s best to address them early before limescale becomes deeply embedded in the porcelain.
Environmental and Health Considerations
Choosing natural cleaning methods like vinegar and baking soda is not only cost-effective but also better for the environment. Unlike harsh chemical cleaners, these ingredients are biodegradable and less likely to damage plumbing or pose health risks.
Benefits of Using Natural Cleaners
- No toxic fumes or respiratory irritants
- Safe around children and pets
- Reduces environmental impact
- Prevents buildup without corrosive damage
Still, it’s important to ventilate your bathroom and wear gloves when cleaning, especially when working with acidic ingredients like vinegar or lemon juice.
Removing limescale from your toilet doesn’t have to be a difficult or expensive process. With basic household ingredients and regular cleaning habits, you can keep your toilet bowl free from mineral buildup and stains. Whether you prefer natural remedies like vinegar and baking soda or commercial cleaners for tougher jobs, consistent care is the key to a sparkling toilet. Preventive maintenance ensures that limescale doesn’t return, and your bathroom stays fresh and hygienic. By following these easy methods and tips, you’ll not only improve the appearance of your toilet but also extend its lifespan and maintain a healthier home environment.