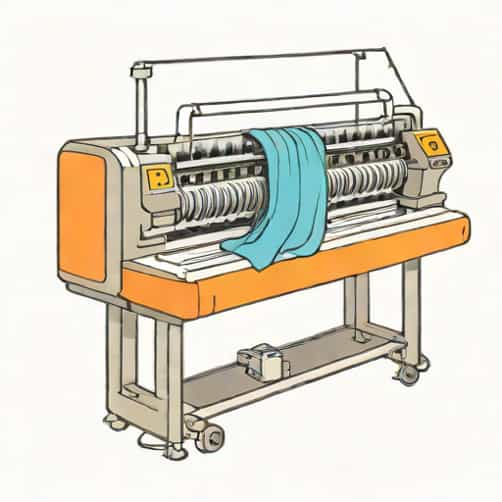
When it comes to machine knitting, understanding the compatibility between a Brother knitting machine and its ribber attachment is essential for achieving smooth and professional results. A ribber expands the creative capabilities of a knitting machine by allowing knitters to produce rib stitches, circular knits, and double-bed fabrics. However, not all Brother ribbers are compatible with every Brother knitting machine model. Knowing which ribber matches your machine can save time, prevent frustration, and ensure that your knitting projects run seamlessly.
Understanding the Purpose of a Ribber
A ribber is an accessory that attaches to the main knitting machine to create a second bed of needles. This allows knitters to produce textured fabrics such as 1×1 or 2×2 ribbing, fisherman’s rib, and even double-knit fabrics. Without a ribber, these stitches would need to be made manually, which can be time-consuming. By using a compatible ribber, you can easily switch between single and double-bed operations, making your Brother knitting machine far more versatile.
How Compatibility Works in Brother Knitting Machines
Brother knitting machines come in different gauges and series, such as standard gauge (4.5 mm), mid-gauge (6.5 mm), and bulky gauge (9 mm). Each gauge type requires a specific ribber designed to match its needle spacing and mechanical setup. For example, a standard gauge Brother KH-830 will not work properly with a bulky gauge ribber like the KR-260. Compatibility depends on both the machine’s series and its mechanical features, including the carriage design and bed width.
Main Factors Affecting Compatibility
- Gauge sizeThe distance between needles must match between the machine and the ribber.
- Series generationOlder Brother machines may not align with later ribber models due to differences in design.
- Bed attachment pointsThe mounting brackets must fit securely for correct alignment and stitch formation.
- Carriage synchronizationThe main carriage and ribber carriage must move in harmony for accurate stitch knitting.
Popular Brother Knitting Machine and Ribber Pairings
Over the years, Brother produced many knitting machine models, and each had a corresponding ribber or several compatible ones. Below are some of the most common pairings that knitters use successfully.
Standard Gauge Models
- Brother KH-830, KH-840, KH-860 → Compatible with KR-830 or KR-850 ribbers
- Brother KH-881, KH-890, KH-891 → Compatible with KR-850 or KR-900 ribbers
- Brother KH-910, KH-930, KH-940 → Compatible with KR-850 or KR-900 ribbers
- Brother KH-965, KH-970 → Compatible with KR-850 ribber
Mid-Gauge and Bulky Models
- Brother KH-260 (bulky) → Compatible with KR-260 ribber
- Brother KH-270 (bulky electronic) → Compatible with KR-260 ribber
- Brother KH-350 (mid-gauge) → Does not have a dedicated ribber
When pairing a ribber with a Brother knitting machine, it is essential to ensure that both are the same gauge and that their connection brackets and couplers are properly aligned. If you are purchasing a used ribber, it is wise to verify that all parts, including the connecting arm, screws, and handle, are intact and match your specific model.
Installing the Ribber Correctly
Proper installation of the ribber ensures smooth knitting and prevents damage to either machine. The process generally involves mounting the ribber bracket to the table, attaching the ribber bed to the main bed, and ensuring that the carriage movements are synchronized. Always check the instruction manual for your specific Brother model to confirm the exact procedure.
Steps for Basic Ribber Setup
- Place the main bed of the knitting machine securely on the table.
- Attach the ribber brackets firmly using the provided screws and alignment tools.
- Mount the ribber bed and adjust its height so that the needles of both beds meet at the correct angle.
- Connect the coupler between the main and ribber carriages.
- Test the synchronization by manually sliding both carriages to ensure smooth movement.
Once installed, you can begin experimenting with various rib patterns, from simple 1×1 ribs to more complex double-knitting projects. Remember that correct needle selection and yarn tension play major roles in achieving even stitches.
Troubleshooting Compatibility and Operation Issues
Even with the right ribber, knitters may occasionally encounter issues with alignment, dropped stitches, or uneven tension. These problems often stem from minor misalignments or incorrect settings rather than actual incompatibility. For example, if the ribber sits too low or too high, stitches may not transfer correctly between beds.
Common Problems and Solutions
- Misaligned needlesAdjust the ribber height using the fine-tuning screws until the needles align evenly.
- Skipped stitchesCheck for bent needles or incorrect yarn tension.
- Carriage jamsEnsure that the connecting arm between the carriages is properly attached and moves freely.
- Uneven fabricAdjust the tension dial and recheck yarn weight compatibility.
Regular cleaning and maintenance also play a vital role in keeping your Brother knitting machine and ribber running smoothly. Dust, lint, or dried oil can cause the carriage to drag or misform stitches.
Why Compatibility Matters for Knitters
Using a compatible ribber not only makes knitting more efficient but also expands creative possibilities. With the right pairing, knitters can produce stretchable cuffs, neckbands, and double-sided patterns that would otherwise require hand knitting. Additionally, compatibility ensures that all mechanical movements between the ribber and main carriage are precisely timed, reducing wear and tear on the equipment.
Benefits of Using a Matched Ribber
- Creates professional-quality ribbed fabrics effortlessly
- Allows for circular and double knitting
- Reduces manual work for ribbed edges
- Ensures smoother and quieter carriage movement
- Prevents mechanical damage caused by misalignment
Incompatible ribbers can lead to mechanical strain, poor stitch quality, and in severe cases, damage to the knitting machine. Therefore, it is always recommended to check the compatibility chart provided in the Brother instruction manuals or refer to knowledgeable knitting machine technicians before purchasing.
Tips for Buying a Ribber for Your Brother Knitting Machine
If you are looking to expand your knitting setup with a ribber, consider these practical tips to ensure you choose the right model for your Brother knitting machine
- Identify your machine’s model and gauge type before shopping.
- Look for ribbers in good condition with all original parts and accessories.
- Test the ribber carriage movement if possible, especially when buying used equipment.
- Ask sellers for confirmation of compatibility with your specific Brother model.
- Keep the instruction manual or search for digital copies to aid setup.
Buying second-hand ribbers can be an affordable way to enhance your knitting setup, but verifying compatibility remains crucial to avoid mechanical issues later. Many online communities and knitting forums provide compatibility lists and user experiences that can guide your purchase decisions.
Brother knitting machine ribber compatibility is one of the most important aspects to consider when expanding your knitting toolkit. A correctly matched ribber allows you to create more complex, professional-quality knitwear while keeping your machine running efficiently. Understanding the gauge, series, and mechanical setup of both the knitting machine and the ribber ensures that every project comes out beautifully. Whether you’re knitting for personal enjoyment or professional production, taking the time to choose the right ribber will make your Brother knitting experience smoother, more creative, and far more rewarding.