Learning how to do a tricep kickback is an effective way to strengthen and shape the back of your arms, especially if you want more definition or improved upper-body stability. This exercise is simple in appearance, yet it requires proper technique to truly engage the tricep muscles without straining the shoulders or lower back. Many people rush through the movement or use weights that are too heavy, which reduces the effectiveness of the workout. Taking time to understand correct form, breathing, and body alignment can make a huge difference in your results and overall confidence when training.
Understanding the Purpose of the Tricep Kickback
The tricep kickback targets the long head, lateral head, and medial head of the triceps. While it may look like a small isolation movement, it plays an important role in arm strength, muscle balance, and functional pushing movements. This exercise is also popular because it requires minimal equipment and can be performed at home or in a gym.
Why the Tricep Kickback Works
The key to the kickback is maintaining tension in the tricep throughout the entire range of motion. When the arm extends fully behind the body, the tricep works against gravity, making the movement both controlled and intense.
- Improves upper-arm tone and definition
- Enhances elbow stability and joint control
- Supports push movements like bench presses and dips
- Helps correct muscle imbalances in the arms
Setting Up Your Position Properly
Before starting the exercise, proper positioning is essential. A stable stance ensures your triceps do most of the work instead of your lower back or shoulders.
Choosing the Right Weight
Light to moderate dumbbells are generally best when learning how to do a tricep kickback. Start with a weight that allows you to perform the movement slowly and with full control. Using too much weight often leads to swinging, which reduces tricep activation.
Body Alignment Basics
Good form begins with proper alignment. The back should remain flat, the core engaged, and the shoulders pulled away from the ears.
- Stand with your feet hip-width apart.
- Hinge forward slightly at the hips, keeping your spine neutral.
- Bend your knees gently to avoid strain.
- Keep your elbow close to your torso throughout the movement.
Step-by-Step Guide to Performing the Tricep Kickback
Executing the movement correctly increases tricep activation and reduces injury risk. Focus on smooth, controlled motion rather than speed.
Step 1 Prepare the Starting Position
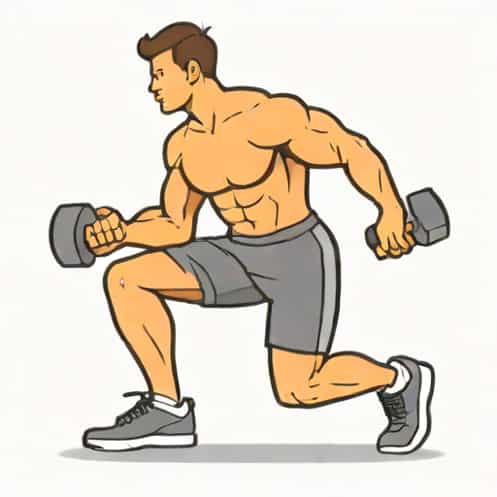
Hold the dumbbell in one hand while leaning slightly forward. Your upper arm should be parallel to the floor, elbow bent at roughly 90 degrees. Keep your chest open and your back straight.
Step 2 Engage the Tricep
Before extending your arm, activate the tricep by imagining you are already pushing backward. This prepares the muscle and helps you get more out of the exercise.
Step 3 Extend the Arm
Slowly push the dumbbell back until your arm is fully straight. At full extension, the tricep should feel tight and engaged. Do not lift the shoulder or allow the elbow to flare outward.
Step 4 Return With Control
Bring the forearm back to the starting position with steady control. Resist the urge to let gravity pull your arm forward too quickly, as this reduces arm stability and muscle activity.
Common Mistakes to Avoid
Many people unknowingly perform the tricep kickback incorrectly, which can lead to loss of tension or unnecessary strain. Recognizing common errors helps you adjust your form during each repetition.
Swinging the Weight
Swinging reduces muscle engagement and turns the movement into momentum rather than strength. This often happens when the weight is too heavy or when the back isn’t stabilized properly.
Dropping the Elbow
Your elbow should remain lifted and steady throughout the exercise. If it drops during the movement, the tricep loses tension, and the shoulder begins to take over.
Rounding the Back
Maintaining a neutral spine is essential for safety. Rounding your back places pressure on the lower spine and shifts focus away from the triceps.
Locking the Elbow
Full extension is important, but hyperextending or forcefully locking the elbow can cause joint discomfort. The movement should be firm but not aggressive.
Variations of the Tricep Kickback
Once you master the traditional version, you can explore other variations to increase challenge and enhance muscle activation. Different styles can target slightly different areas of the triceps while keeping your workout routine fresh.
Two-Arm Dumbbell Kickback
This version allows you to work both arms simultaneously. It saves time and improves muscle symmetry. However, it requires greater core strength to maintain stability.
Kneeling Bench Kickback
Using a bench for support helps beginners maintain balance. This setup reduces lower-back pressure and allows better focus on the triceps.
Resistance Band Kickback
A resistance band offers constant tension throughout the movement. It’s a great option if you want a more portable, joint-friendly alternative to dumbbells.
Cable Kickback
This version uses a cable machine to create smooth, consistent resistance. It enhances control and can be easier on the elbow joint.
Breathing Techniques
Breathing properly is often overlooked but very important. Coordinated breathing supports stability and performance during the exercise.
How to Breathe During the Kickback
Inhale during the preparation phase, then exhale as you extend your arm backward. This exhale helps activate your core and stabilizes the upper body. Inhale again as you return to the starting position.
How to Increase Intensity Safely
If you want stronger arms or improved tricep definition, increasing the challenge of your workout is essential. However, intensity should be added slowly and intentionally.
Add Repetitions Gradually
One of the safest ways to progress is by increasing reps. Start with 8 12 reps per arm and gradually work up to 15 20 as your strength improves.
Increase Weight in Small Steps
When the current weight feels too easy, increase by small increments. Jumping too quickly to heavier weights can compromise form.
Slow Down the Movement
A slower pace increases time under tension, which helps muscle growth. Try counting two seconds back and two seconds forward for each repetition.
Supporting Muscles and Mobility
While the tricep kickback is an isolation exercise, other parts of the body contribute to stability. Improving mobility and strength in these areas enhances the safety and quality of your workouts.
Core Engagement
Your core helps protect your spine during the forward-leaning position. Strengthening these muscles allows you to maintain better alignment and balance.
Shoulder Mobility
Good shoulder mobility makes it easier to lift the elbow and keep the upper arm steady. Gentle stretching and regular warm-ups can prevent stiffness.
Hip Stability
Your hips support your posture as you hinge forward. Strong glutes and lower-body muscles make it easier to maintain the correct form throughout the set.
Mastering how to do a tricep kickback can significantly enhance your upper-arm strength, muscle tone, and workout efficiency. With the right weight selection, proper body alignment, and steady movement, this exercise becomes a powerful tool for improving tricep activation. Whether you are a beginner or an experienced lifter, focusing on form and gradual progression will help you achieve better results and reduce the risk of injury. Consistency and mindful practice are key to building stronger, more defined triceps over time.