Melting lead with a blowtorch is a common technique used in metalworking, hobby projects, and small-scale casting applications. Lead has a relatively low melting point of around 621 degrees Fahrenheit (327 degrees Celsius), which makes it possible to melt it using a portable heat source like a blowtorch. This process can be useful for making fishing weights, bullets, or other small metal objects. However, working with lead requires careful attention to safety due to its toxic nature and the risks associated with handling molten metal. Understanding the proper equipment, techniques, and safety precautions is essential for anyone looking to melt lead effectively and safely.
Understanding Lead and Its Properties
Lead is a dense, soft, and malleable metal that has been used for centuries in various applications. Its low melting point makes it ideal for small-scale melting projects. When heated to its melting point, lead transitions from a solid to a liquid state, allowing it to be poured into molds or used for shaping. While it is relatively easy to melt compared to other metals, lead also produces toxic fumes when heated, which can pose serious health risks if inhaled. Proper ventilation and protective gear are therefore critical.
Equipment Needed for Melting Lead
To melt lead safely with a blowtorch, several key pieces of equipment are required
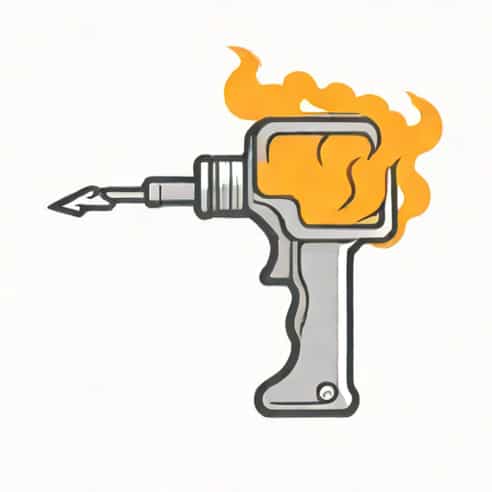
- BlowtorchA propane or MAPP gas torch is commonly used to provide the heat necessary to melt lead efficiently.
- Crucible or Heat-Resistant ContainerA metal container, often made of steel or cast iron, is used to hold the lead during heating.
- Protective GearHeat-resistant gloves, safety goggles, and a face shield protect against splashes and heat exposure.
- VentilationWorking in a well-ventilated area or using a fume extractor prevents inhalation of toxic lead vapors.
- MoldA pre-prepared mold is used to shape the molten lead once it has melted.
- Tongs or Metal ToolsTo handle the crucible safely and manipulate the molten metal.
Safety Precautions
Melting lead with a blowtorch involves several hazards, including burns, fire risks, and lead poisoning. Observing safety precautions is essential to prevent accidents and long-term health issues
- Always wear heat-resistant gloves and a protective apron to shield your skin from molten splashes.
- Use safety goggles or a face shield to protect your eyes from sparks or flying molten metal.
- Work in a well-ventilated area to avoid inhaling lead fumes, which are highly toxic and can cause serious health problems over time.
- Keep a fire extinguisher nearby in case of accidental ignition.
- Never melt lead indoors or near flammable materials.
- Wash your hands thoroughly after handling lead, and avoid eating or drinking in the work area.
Step-by-Step Process for Melting Lead
Melting lead with a blowtorch involves several key steps to ensure a safe and efficient process
1. Prepare the Work Area
Choose a fireproof surface, such as a concrete or metal table, to conduct the melting. Ensure that all flammable materials are cleared from the area. Set up ventilation, either by working outdoors or using a fume hood, to prevent lead fumes from accumulating.
2. Place Lead in a Crucible
Break the lead into small pieces or use lead ingots, and place them in a heat-resistant crucible. This container will hold the lead as it melts and allow you to pour it safely into molds later.
3. Heat Lead with a Blowtorch
Ignite the blowtorch and direct the flame toward the crucible, focusing on the lead. Move the flame in a circular motion to heat the metal evenly. The lead will gradually melt into a shiny, silvery liquid. Monitor the temperature carefully to avoid overheating, as excessive heat can increase fume production.
4. Stir and Degas if Necessary
Once the lead has melted, you may need to stir it gently with a metal rod to ensure uniform melting and remove impurities. Degassing or skimming off oxides can improve the quality of the final cast.
5. Pouring the Molten Lead
Using tongs to hold the crucible, carefully pour the molten lead into pre-prepared molds. Pour slowly to minimize splashing and ensure even filling of the mold cavities. Allow the lead to cool and solidify before handling.
Applications of Melted Lead
Melted lead has a variety of practical applications, often in small-scale or hobbyist contexts
- Fishing WeightsMolten lead is poured into molds to create custom sinkers and weights for fishing.
- Bullet CastingHobbyists and reloaders often melt lead to cast bullets for firearms.
- Artistic ProjectsLead can be used for sculpting, making metal figures, or creating components for stained glass projects.
- Industrial UsesLead is sometimes used in small-scale experiments, plumbing applications, or radiation shielding, though industrial applications typically use specialized equipment for safety.
Common Mistakes and Troubleshooting
When melting lead with a blowtorch, beginners may encounter several common challenges
- Overheating the lead, which increases toxic fumes and may cause splattering.
- Using an inadequate crucible that can crack or fail under heat.
- Poor ventilation, which increases the risk of lead poisoning.
- Pouring too quickly or unevenly, resulting in incomplete mold filling or air bubbles.
- Not wearing proper protective gear, increasing the risk of burns or eye injuries.
Being aware of these potential issues and taking preventative measures ensures a safer and more successful process.
Environmental Considerations
Lead is a toxic metal that can contaminate soil and water if not handled properly. Always dispose of lead scraps and used materials responsibly, following local environmental regulations. Clean work surfaces thoroughly, and avoid pouring molten lead near areas where it could come into contact with children, pets, or food preparation zones. Using proper ventilation and capturing fumes with filtration systems helps reduce environmental impact and exposure risks.
Melting lead with a blowtorch is a practical technique for small-scale metalworking and hobby projects, offering the ability to create custom weights, bullets, and artistic objects. Despite the relatively low melting point of lead, safety is paramount due to the risks of burns, fire, and toxic exposure. Using appropriate equipment, protective gear, and ventilation ensures a safe and efficient melting process. Understanding the properties of lead, the correct handling techniques, and environmental considerations allows hobbyists and professionals alike to work with this versatile metal responsibly. With careful attention to safety and technique, melting lead with a blowtorch can be a rewarding and effective method for a variety of applications.